The value of a neutral supply stop
Toydaria's geography gave Republic diplomacy a practical objective. The planet was near routes needed to move essential supplies toward Ryloth while clone and local forces fought an occupation. With Toydaria neutral, the Republic could not simply assume the right to operate from its facilities. Bail Organa and Jar Jar Binks therefore sought King Katuunko's consent. The official episode guide identifies this request and the political pressure that surrounded it. The corridor explored here is an interplanetary supply arrangement, not a newly named bridge, street or landing field.
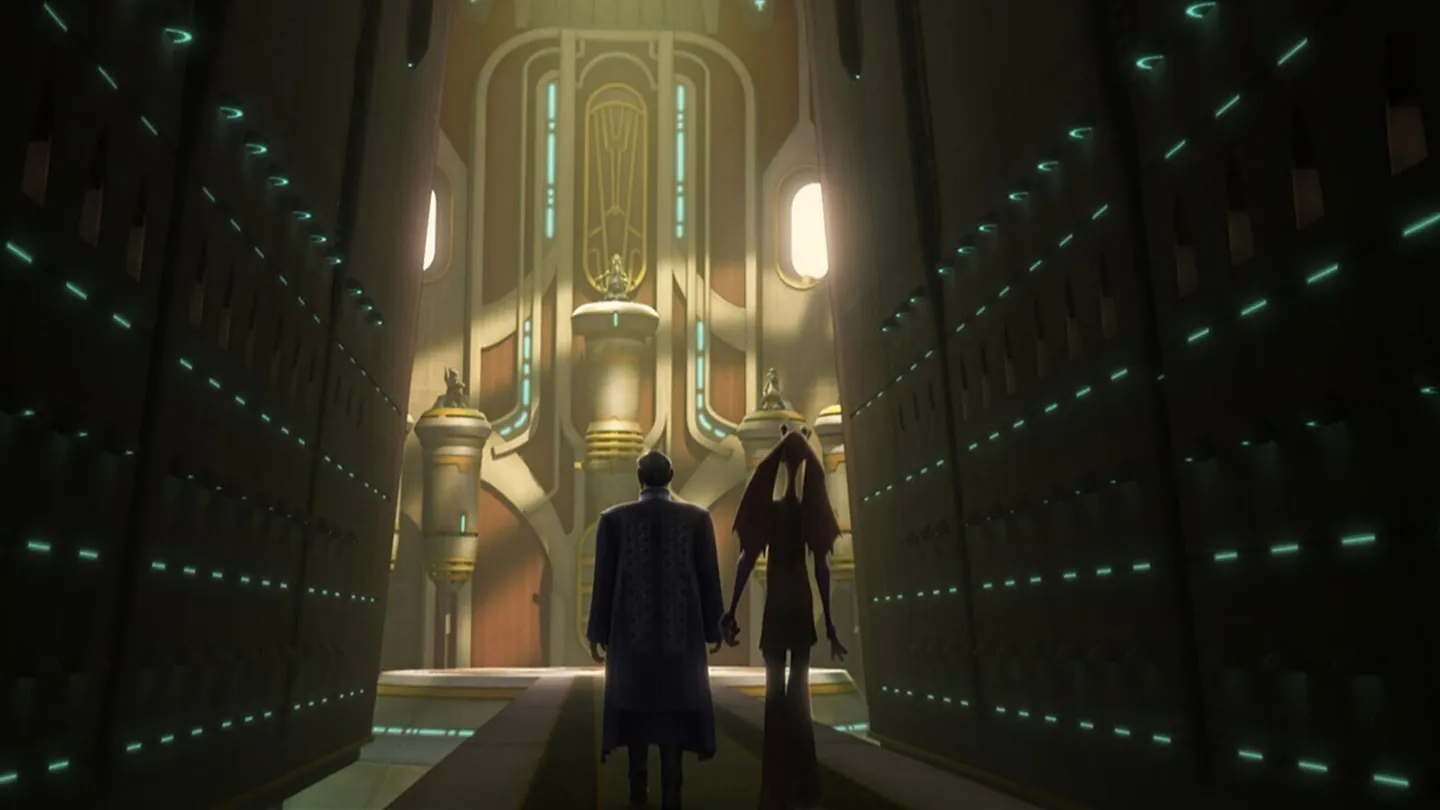
The environment pictured by the Toydaria Databank is foggy and wet. It does not specify the warehouses, air traffic patterns or municipal services that supported the relief deliveries. The scene topics discuss consent, transit and civilian need without converting unnamed silhouettes into official logistics facilities. Those spatial details remain unknown unless further sources document them.
An emergency on a different planet
Ryloth was suffering under Separatist attack when the Republic needed a way to get resources to endangered troops and residents. The account in Supply Lines follows Jedi Master Di and local Twi'lek resistance, including Cham Syndulla, as they faced the advance on the planet. This is a Ryloth crisis with a Toydarian diplomatic response. It should not be presented as though the fighting occurred on Toydaria or as if an image of Yoda on Rugosa showed a relief aircraft arriving.
The cross-world relationship is important because civilians affected by war often rely on governments and supply networks beyond their immediate location. Katuunko's decision influenced that network, even though it did not change Toydaria into the battlefield itself. A linked source allows visitors to inspect the episode and distinguish the destinations, characters and institutional responsibilities.
Bail Organa and Jar Jar Binks
Bail Organa brought political standing and a humanitarian argument to the Toydarian mission. Jar Jar Binks accompanied him and helped distract Trade Federation observers while the arrangements took shape. These actions are described in the official Clone Wars guide. They make the intervention more specific than a generic statement that the Republic requested aid. Two identifiable representatives used diplomacy and deception to secure permission for resources to move when formal neutrality threatened to delay relief.
The role of each individual should not be exaggerated. Bail and Jar Jar did not personally govern Toydaria or replace the king's authority. The agreement depended on Katuunko. Likewise, images of these figures do not establish their residence in a particular Toydarian palace. The gallery labels them as participants in a documented mission and links their official biographies rather than manufacturing an interior tour.
Lott Dod and the boundaries of neutrality
Trade Federation envoy Lott Dod objected to aid that would benefit the Republic. He argued and maneuvered to prevent Katuunko from allowing Toydaria to become part of the supply chain. The episode shows how a nominally neutral commercial organization could intervene in the choices of another neutral state. The political choice was difficult precisely because the urgency of relief did not eliminate the danger that Toydaria could be punished for cooperation.
Katuunko eventually agreed to assistance. His choice was not a declaration that all Toydarian people supported every Republic military decision. It was a particular response to a crisis. The contrast between Dod's pressure and the king's eventual agreement provides a documented sequence that visitors can explore without relying on invented cabinet proceedings or fictional diplomatic documents.
A supply route is not a drawn travel map
The sources do not provide a complete flight plan, duration or list of secure landings for the relief mission. They describe what Toydaria permitted and why that permission mattered. The explorer therefore uses a contextual topic about routes rather than plotting an unsupported line from an arbitrary Toydarian forest to a specific village on Ryloth. The route is a political and logistical relationship established by the episode, not an accurately scaled geographic itinerary.
Similarly, Rugosa is a nearby separate moon where earlier treaty negotiations occurred. It belongs in the larger Toydarian diplomatic record, but a Rugosa illustration is not a flight photograph of the Toydaria-to-Ryloth supply chain. The distinction is especially important in an image-heavy website because visual adjacency can otherwise imply physical adjacency that the sources do not show.
The meaning of the relief decision
Toydaria's intervention links a relatively remote state to the human consequences of a larger galactic conflict. Choosing to permit aid had immediate implications for people elsewhere, while also exposing the Toydarian leadership to pressure from competing powers. The scene archive makes those stakes visible through identifiable sources: Katuunko's account, the episode guide, the Trade Federation envoy and the two Republic representatives. It does not fabricate a local aid agency or transportation authority to add complexity.
Visitors on a phone can inspect and switch the images, select their subjects from within the picture and follow links to each documented participant. The parent planet hub provides Toydaria's forests and swamps, while the companion court investigation examines the king's earlier choices. Together they show how neutrality, identity and material assistance intersect without claiming a complete canon atlas of royal facilities.