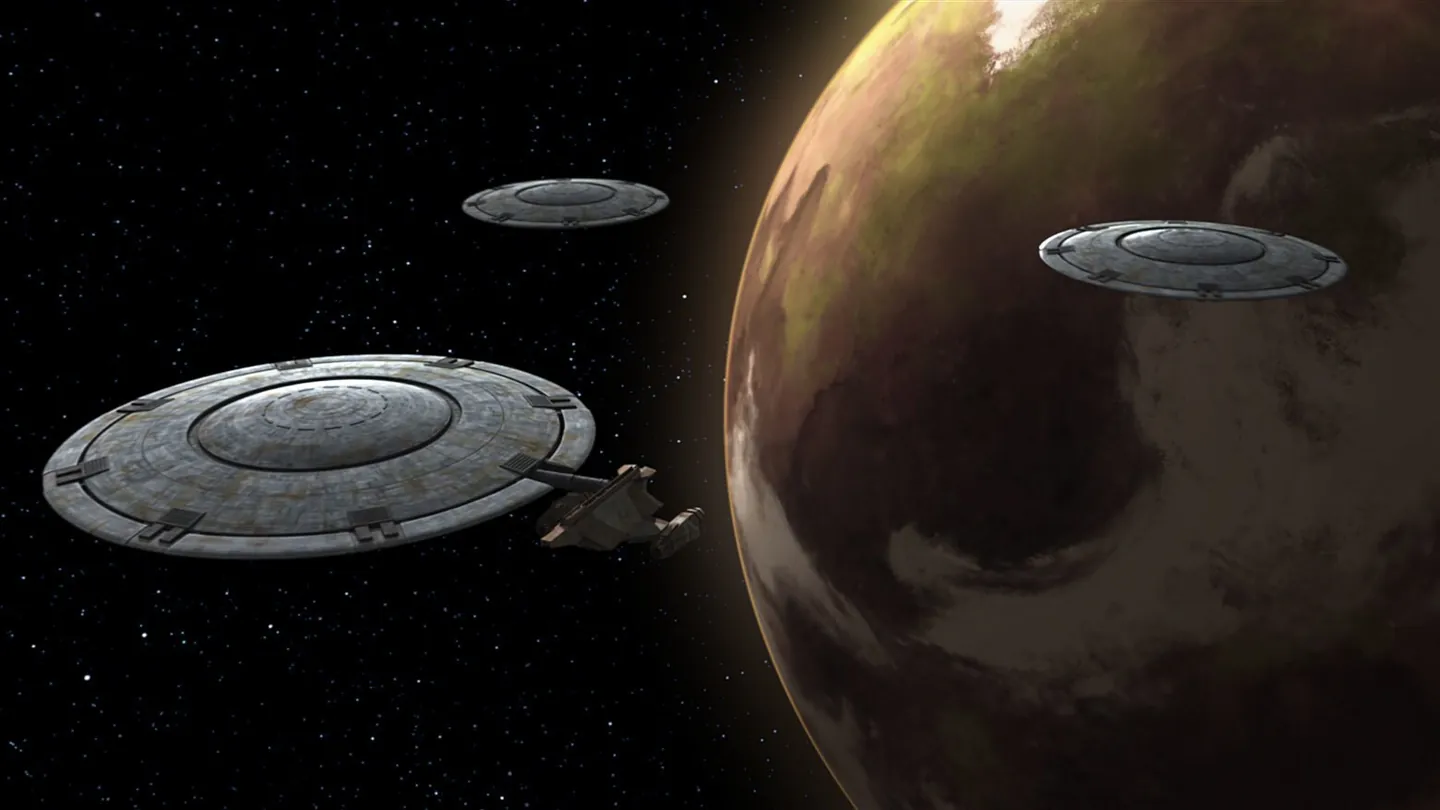
Why ships were central to Florrum's economy
Hondo Ohnaka's pirate gang operated on an out-of-the-way Outer Rim planet, but its raids and ransom deals depended on ships. Weequay saucer craft and other vessels moved goods, people and the armed pirates themselves. The gang could not rely solely on a fortified compound to maintain its income; it needed access to traffic beyond Florrum. The official records therefore make the hangars and surviving ships an important part of the base's material infrastructure.
The series identifies hidden places where Hondo kept vessels for emergencies, but does not provide a measured layout of each docking bay or inventory every ship. The scene imagery is used to investigate transportation and escape without pinning invented hangar coordinates onto a panorama of barren rock.
A previous betrayal creates a military enemy
Hondo's earlier kidnapping of Count Dooku gave the pirate chief a reason to fear retaliation. Dooku had escaped Florrum, and the Separatist leader later sent General Grievous to overrun Hondo's operation. The attack was not a routine internal dispute among pirates. It was a strike by the Separatist military against a group that had humiliated a senior Separatist leader and once tried to profit from his capture.
The official Hondo biography states that the Separatists ransacked the compound, with Grievous declaring that its possessions now belonged to his side. This outcome changed the base's condition over time. A reader should not view the pre-assault hangar and the destroyed compound as one permanently unchanged location.
The younglings find an unlikely ally
Ahsoka Tano and a group of Jedi younglings arrived at Florrum under dangerous circumstances. Hondo had held Ahsoka captive, and the younglings were attempting a rescue. The balance of power changed sharply when General Grievous attacked the pirate base. Hondo's gang and the Jedi now shared an immediate interest in resisting an enemy willing to destroy them all. The official A Necessary Bond episode describes their temporary cooperation.
The alliance did not erase Hondo's earlier kidnapping or make his criminal operation legitimate. It showed how parties with conflicting long-term aims could still cooperate under a specific threat. Katooni's insistence that Hondo help the younglings rather than simply escape helped shape the decision to use the surviving vessels for more than the pirate chief's personal survival.
Escape through concealed craft
During the Separatist attack, Hondo reached a secret hangar with young Jedi Katooni. The hidden ships included the repaired Slave I. Hondo initially prioritized his own escape and offered to bring Katooni with him, but she refused to abandon the others. The incident made the hangar a place where the gang's emphasis on profit and self-preservation confronted an obligation created by the temporary alliance.
The official account documents the concealment and the choice but does not map the precise route from the compound's main hall to the hangar. The scene explorer keeps the location thematic, using a vessel as the image subject and linking to the siege rather than drawing an unsupported path through tunnels and locked gates.
Maul's attempt to seize the gang
After the Grievous attack, another threat arrived. Maul and Savage Opress sought followers for a larger criminal organization. They pressured a splinter faction of Hondo's pirates into serving them and attempted to take control of the operation. Their recruitment offered immediate rewards but relied on coercion and intimidation. The resulting confrontation damaged the compound and placed Hondo in a struggle for control of his own people.
Official accounts record that Hondo regained followers by pointing toward the valuable cargo on Maul's ship. The pirates' decision to turn again was motivated by an anticipated payoff rather than a sudden adoption of Hondo's moral principles. This episode shows the instability of leadership in a profit-seeking organization under pressure from far more powerful outsiders.
A changing stronghold, not a fixed map
Florrum's site history includes the original ransom operation, Ahsoka's imprisonment, Grievous's assault, a subsequent rebuilding effort and Maul's attempted takeover. These events belong to different moments in the Clone Wars. The official sources do not provide a single floor plan that can place every battle, hangar and escape at precise coordinates. The archive uses its historical scene navigator to distinguish each phase and avoids a false aerial map of exact positions.
The hangar scene, military assault and pirate coup use separate documentary subjects, with related source and character links. Gallery images differ from the lead scene, and the captions distinguish recorded people or equipment from reconstructed geography. The companion stronghold page provides the gang's social and economic background so the sieges remain intelligible without excessive repeated text.