
01 / MISSION INTELLIGENCE
Before deploying
Main objective: Sabotage the power station supplying the Separatist installation, then evacuate the squad.
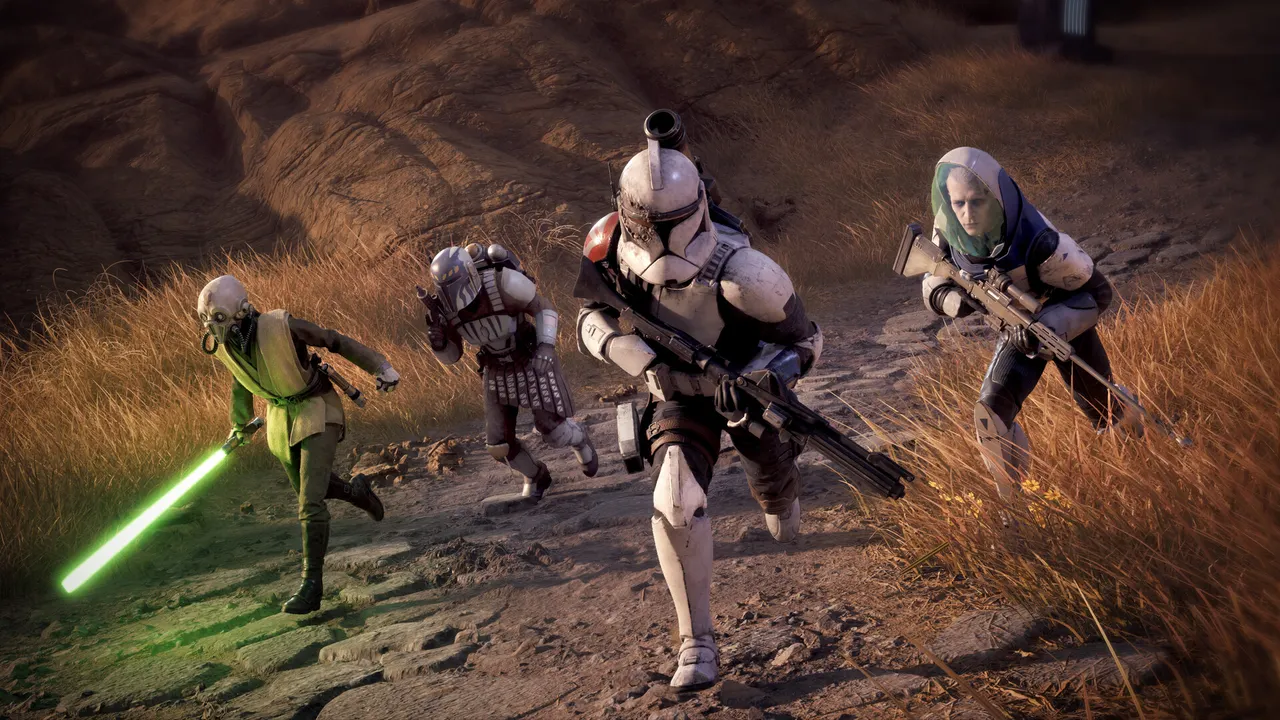
Squad roles: A mobile Astromech equipped for area damage and droid disruption, a long-range shooter, Trick, and a durable close-support operator. The source suggests an Astromech, Hawks, Trick and a Heavy, not an enforced roster.
Do not overlook: The critical interactions are bomb placement and extraction. The reinforced droid force does not need to be pursued if the extraction objective is active.
This walkthrough summarizes a published observed playthrough and a separate mission catalog. The described action order is one successful approach, not the only possible strategy. Difficulty modifiers, operator skills and the current patch may change enemy response. Follow the active in-game HUD.
02 / SOURCE-GROUNDED TACTICAL CHECKPOINTS
Complete the mission
Follow these 7 documented phases. Mark each step for your own reference while playing. Check the numbered destination link after each checkpoint.
Jump to a checkpoint (7 steps)
- CHECKPOINT 01 / 7
Read the sabotage objective
Check the HoloTable for the Kaller Cold Metal card, the objective to damage the facility and the current four-Cycle expiry. Choose enough blast damage to break clusters of B1 droids while retaining protection against B2 units. Do not confuse this optional job with the separate main-story mission on Kaller.
Next checkpoint → - CHECKPOINT 02 / 7
Reach the left-side high ground
At deployment, send the long-range operator toward the ladder immediately left of the starting area. Take the next left-side climb to a high firing platform instead of running your entire team down the central bridge. This gives the shooter a line of sight over the droids below.
Next checkpoint → - CHECKPOINT 03 / 7
Clear the droid cluster without wasting heavy attacks
Use the Astromech's area throwable on tightly grouped standard battle droids. Shoot lone fragile units with ordinary blaster attacks, and direct sustained damage toward the Super Battle Droid near the bridge. Check the right elevated Commando Droid before ending the turn, since its grenade threatens clustered operators.
Next checkpoint → - CHECKPOINT 04 / 7
Control the right platform and second wave
After the opening exchanges, the right platform can become the next problem. Use a remaining explosive or long-range shot to deal with its defenders. Move Trick toward the left elevated route as new enemies appear and keep a durable squadmate moving toward the sabotage point. The published route reports reinforcements following the second turn.
Next checkpoint → - CHECKPOINT 05 / 7
Plant the bomb at the actual objective marker
Advance the mobile Astromech to the designated power-station placement tile. Interact with it to plant the bomb instead of simply clearing every remaining enemy. The interaction changes the mission to extraction and triggers more enemy arrivals, so avoid scattering the squad right before it.
Next checkpoint → - CHECKPOINT 06 / 7
Regroup on the left catwalk
Pull the operator at the bomb site and the lower-route fighter back up the left ladder to join your elevated units. The source reports new arrivals to the right. If a group blocks the catwalk, use reserved droid-control explosives or a powerful area attack before committing all AP to movement.
Next checkpoint → - CHECKPOINT 07 / 7
Extract instead of hunting the last B2 droids
Once the path along the left catwalk is open, direct all operators to the marked exit. The remaining Super Battle Droids may lag behind the group, so moving into the exit is usually safer than trying to wipe them out. The scenario completes on extraction, not on killing every late reinforcement.
What to do next →
03 / STUCK?
Why the objective is not completing
Where is the bomb placement point?
It is beyond the opening bridge encounter at the marked facility sabotage objective. Use the active objective indicator rather than assuming that the first cluster of defeated droids ends the job.
Link to this answer ↗Why am I stuck after defeating the opening group?
The bomb still must be planted. After the interaction, new opponents appear and the objective changes to extraction.
Link to this answer ↗Should I defeat the final Super Battle Droids?
The observed route reaches the exit while they are still pursuing. If the extraction objective is active, prioritize movement and survival rather than clearing unnecessary enemies.
Link to this answer ↗For other jobs, return to the 98-mission finder →.
04 / THE NEXT CYCLE
What to do after extraction
Check the result screen and any Influence or material rewards. Back at the Den, treat injuries, look for new conversations, and reopen the HoloTable for Critical story, Hero and Crisis deadlines before using the next Cycle. A different optional contract may already have expired during this deployment.
Reconsider your next loadout → or find the next Critical story mission →.
05 / PRIMARY EVIDENCE
Walkthrough and mission catalog
Specific reported movement, hazards, timers and objective transitions are derived from the linked account of observed gameplay. Availability comes from the separate launch-build catalog; publisher gameplay rules are a third source. This page is not represented as original IDS playtesting.
Read the documented Cold Metal gameplay walkthrough ↗ Compare contract availability, world and Cycle window ↗ Lucasfilm: official squad and strategic gameplay rules ↗Watch the source-linked optional mission in a long-form playthrough ↗. The long-form full-game recording lists Cold Metal from 02:10:25, but this is a reference clip, not proof the video follows the exact suggested squad or turn sequence.