
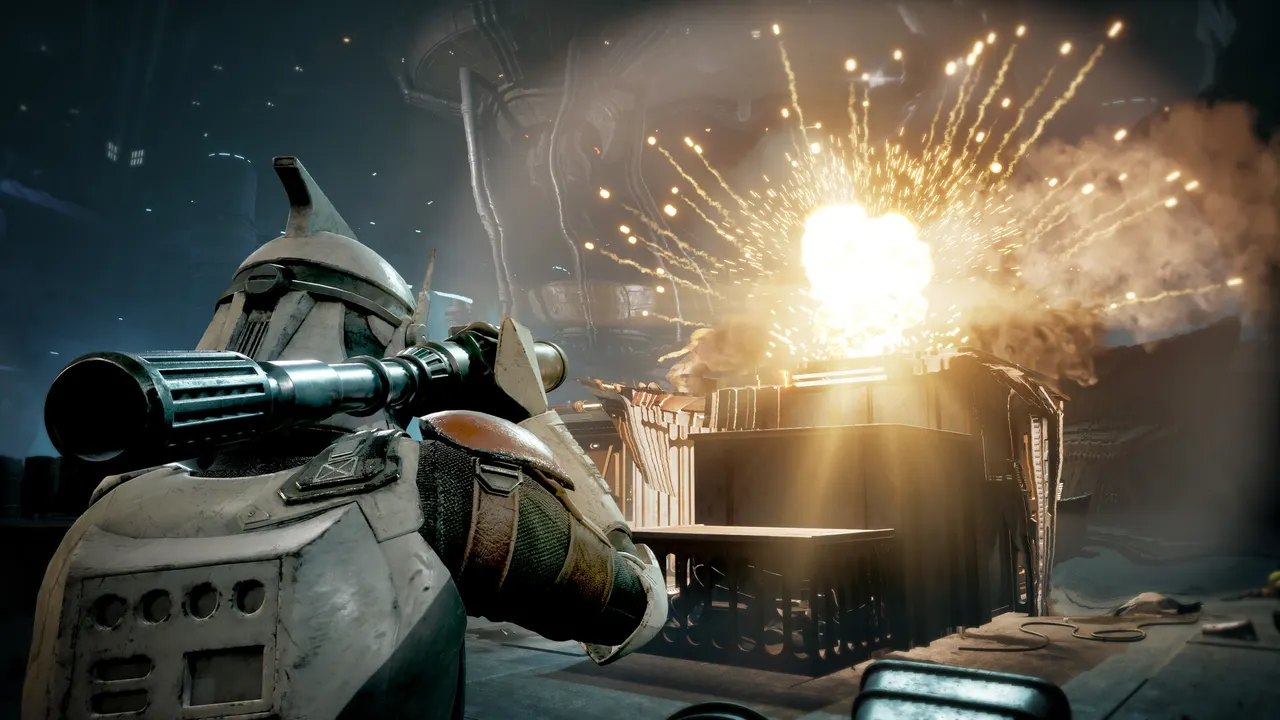
01 / MISSION INTELLIGENCE
Before deploying
Main objective: Defeat Coil infantry and the experimental Elite B2 Super Battle Droid; then reach the extraction marker.
Squad roles: A heavy or repeating-blaster operator, a Force user with displacement and area damage, and two reliable ranged finishers. The observed write-up uses Trick, Tel-Rea, Hawks and Jae, but roster substitutes can achieve the same roles.
Do not overlook: Defeating the Elite B2 without moving the company to extraction does not close the mission. Preserve cover before each enemy turn.
This walkthrough summarizes a published observed playthrough and a separate mission catalog. The described action order is one successful approach, not the only possible strategy. Difficulty modifiers, operator skills and the current patch may change enemy response. Follow the active in-game HUD.
02 / SOURCE-GROUNDED TACTICAL CHECKPOINTS
Complete the mission
Follow these 7 documented phases. Mark each step for your own reference while playing. Check the numbered destination link after each checkpoint.
Jump to a checkpoint (7 steps)
- CHECKPOINT 01 / 7
Confirm this is the one-Cycle Reactive Plating battle
Choose the Florrum Crisis-prevention tactical entry, not a similarly named generic droid mission. The launch catalog records a one-Cycle window, so inspect your other critical and Hero deadlines before advancing time. The first encounter objective is to defeat the Coil force.
Next checkpoint → - CHECKPOINT 02 / 7
Open on the Brute from protected positions
Use a powerful sustained attack against the Coil Brute while your operators remain behind the initial cover. A source-recorded approach starts with Trick applying repeating blaster fire and follows with Hawks to finish the heavy opponent. Avoid splitting every attack across several nearly healthy enemies.
Next checkpoint → - CHECKPOINT 03 / 7
Use explosives on tightly grouped infantry
Direct an Impact Bomb or another appropriate area effect into the densest cluster. A single B1 Battle Droid is a poor use of a scarce blast charge when a normal rifle shot will defeat it. Keep a cleanup shooter covering the advance.
Next checkpoint → - CHECKPOINT 04 / 7
Approach the lower ramp carefully
The published encounter continues down a ramp where Coil units use cover to interrupt direct firing lines. Move the Force user into a position where Pull or Push can dislodge an enemy. Check the attack preview before committing an operator's final AP.
Next checkpoint → - CHECKPOINT 05 / 7
Force exposed enemies back into the squad's range
Drag the defended Coil Striker out of cover if it is safe to do so, and finish the exposed unit from the top or ramp-side fire lane. Retain one operator in cover on the higher ground while another advances so the entire team is not vulnerable to the next enemy turn.
Next checkpoint → - CHECKPOINT 06 / 7
Isolate the experimental Elite B2
Deal with any remaining support units before trading prolonged attacks with the armored prototype. The source recommends converging available burst attacks on the Elite B2 within one round, once Brutes and Strikers can no longer punish the squad.
Next checkpoint → - CHECKPOINT 07 / 7
Reach extraction when the objective updates
After the prototype and listed opposition are defeated, follow the new extraction indicator. Move every required squad member into the marked area and wait for the completion screen; eliminating enemies alone may not resolve this encounter.
What to do next →
03 / STUCK?
Why the objective is not completing
How do I deal with the Coil Striker behind cover?
The observed guide recommends Force Pull or Push to move the target into a clear firing line; check that the target is in ability range before using AP.
Link to this answer ↗What should I focus before the Elite B2?
Eliminate the Coil support units that can flank or damage your squad while you spend actions against the armored droid.
Link to this answer ↗Why have I not received the reward after defeating the prototype?
The report documents a separate extraction phase. Follow the updated objective and reach the designated departure area.
Link to this answer ↗For other jobs, return to the 98-mission finder →.
04 / THE NEXT CYCLE
What to do after extraction
Check the result screen and any Influence or material rewards. Back at the Den, treat injuries, look for new conversations, and reopen the HoloTable for Critical story, Hero and Crisis deadlines before using the next Cycle. A different optional contract may already have expired during this deployment.
Reconsider your next loadout → or find the next Critical story mission →.
05 / PRIMARY EVIDENCE
Walkthrough and mission catalog
Specific reported movement, hazards, timers and objective transitions are derived from the linked account of observed gameplay. Availability comes from the separate launch-build catalog; publisher gameplay rules are a third source. This page is not represented as original IDS playtesting.
Read the documented Reactive Plating gameplay walkthrough ↗ Compare contract availability, world and Cycle window ↗ Lucasfilm: official squad and strategic gameplay rules ↗